Sunday, March 29, 2015

Back to Normal

Saturday this week saw us back at the club after last weeks good times up in Bundaberg. The foam was still calling out to me, so I took up my Surform tool and tackled a bit more terrain.

I started with a beginning of the mountain that will rise at the base of the peninsula. I had hoped to keep it to a very shallow hill type, but with trying to keep as much track visible as possible for maintenance purposes, it sort of really needs to be a bit steeper than envisaged. But time will tell as it is always a work in progress and changes as it grows.


Next I added a bit more foam against the wall and shaped it a bit. This will end up with trees on it so as to try and disguise the wall itself as much as possible and draw the eye to the tracks and trains.


I also got a bit of foam roughly carved out for in front of the wye and covering the hole in the skyboard. A bunch of trees and you'll never know there was a hole in the wall behind it.


Last bit of work was to give the last of the rolling hills a coat of No More Gaps. It turned out not quite the same colour, but the dirt and grass that goes over it will completely cover it anyway.


Lastly are some photos of a "find" Peter A made in Bundaberg. George at Aurora Trains had a couple of big red boxes in his shop at the show. Peter was poking around and found they were brass HO scale bridges - dual lane in fact. They had some transport damage so were going at a good price. Made in Germany by Hack-Bruecken, these bridges are all brass, two tracks wide and 60 cm long - perfect! We've measured them up in the spot we think they will fit on the club layout and one of the bridges will be perfect for the middle bridge - the one under the big one Peter is building that spans the top deck. Normally these bridges are €134,95 each, but we scored them for $40 a pop! Peter has done the straightening and soldering repair work and with a lick of paint we will see one of them ready for use on the layout when time comes.


Haven't had a run on the layout for a bit, so the N'ers are having a run "On the dark side" this coming Monday - So I might bring a pile of HO down and play choo choos for the day :o)

Wednesday, March 25, 2015

The Bundaberg train show was on the weekend and was a great weekend away with the boys. I'll post about it later. Today at the club was more of a slow day with a good number of fellas away for the day. I got all the N scale exhibition layout modules out of the trailer and placed them on tables so we could do a good cleanup on them and a few minor tweaks over the next few weeks as they will be on show at the N Scale Convention in April. We can start working on them on Saturday.


Barry P got busy doing a bit more foam installation work at the top of the helix so that we can shape it up a bit.


I did a bit more foam work myself. Managed to get another few blocks in along the wall at the base of the peninsula. Carving can start shortly on that.


Also got a layer at the back of the wye in place. This will also stop a train from falling on the floor as well - A good thing I reckon.


Oh, and the last main block of foam in the rolling hills section, at the base of the peninsula, has had a lot more beads removed and is pretty much ready for a coat of No More Gaps to seal it.


The access hatch area at the base of the peninsula got a bit of attention to shorten all the timbers to bare minimum and tidy it up ready for doing a pile of foam work to build the new mountain there very soon.


Once the blokes started running trains after lunch, I did a bit of foam work to seal the gaps either side of the "tunnel" from one side to the other that the wye makes. I also got some cheap acrylic black paint and gave it a lick as after all, it will be the inside of a tunnel. I also did the same on the tunnels on the big mountain.


And of course John B was kicking around making a big racket. He cut the dividing skyboard down on the first peninsula on the top deck.


Well that's the day for me I suppose. Catch ya later.

Saturday, March 14, 2015

One more week of sleeps

That's right, it is only one more week until the Bundaberg Model Train Expo. So today was "pack the layouts away" day. The N scalers got theirs away relatively quickly today as expected and made room for the T-TRAK trailer to be wheeled into the main building for the T-TRAK to be loaded up.

The HO'ers did a much much more leisurely packup, as expected.


Being a meeting day and a cutoff of eleven for major work on the layout, nothing really got done on it. Except I did manage to make up a caulking gun full of "putty" and fill a pile of gaps and holes and fillet the foam hills into the layout where possibly a small loading dock station or small country stop will go. Craig M gave me a hand and we got it done just in time for the meeting to start at 2. The mix this time was my usual of acrylic gap filler, foam beads and vermiculite, but I also added in a few handfuls of fine sawdust as well.


So the area is looking a bit more complete in regards to the foam work.


With Kev away pulling down a Constellation aircraft in Manila, John B ran the usual HO layout meeting. Main thing was Tony C brought in the station he is building and Greg B got a conversation going about possible backdrop scenarios for the station area. Here are the station components from Tony.


And here are a few of the possible backdrop components - some of many I expect.


Wednesday, March 11, 2015

It's ALIVE !

Yes, today I put in the droppers from the new track and points on the wye. First thing was to get the Dremel out and put on the wire brush and clean all the spots on the sides of the rail where the droppers were to be soldered. Next I drilled the holes for the droppers through the layout and between the sleepers as close to the rail as possible. I cut the droppers a little longer than required to make sure I could recover from any cutting accidents later on. I then fed the droppers into place from underneath the layout, so a bit of lying down on the job was required.


Next step was to tin the places just cleaned by the Dremel as well as tinning the now cut droppers.


It was now time to solder the wires into place. I forgot to get a pic of the wire shape before soldering, but we use solid core wire which is actually detonator wire, which is available from Bunnings. This makes bending the wire easy and it holds the shape while soldering. I shape it with an "L" at the end of the wire and a 45 degree bend near it so that it is held against the rail after it exits the hole in the layout.


Above you can make out the shape I make the wire, and below is it fully soldered in place.


Now another lie down was required, again under the layout. This time to gather all the droppers and join them into the main wiring bus. In this instance I had four pairs of droppers and decided that would fit into our joiner block OK without the need to add in another joiner block. For this wye, I was going to join into the bus used for the reversing loop that forms one leg of the wye. This bus was wired with blue and black wires. The red and white wires are our droppers.


So I gathered all four wires into a bundle after stripping about 20 mm of insulation off of them. I then twisted them together and used a pair of pliers to finish it off with a tight twist.


Then it was in with a pair of side cutters and trim the bared section down to about 10 mm.


Into the connection block and out with the trusty screw driver to tighten the screw down and it was done.


So a quick polish of the rail head with a track cleaning rubber and some test wagons were thrown down nice and fast to make sure they didn't fall off - all good :o)

Next was to install sleepers where they were missing after all the trackwork. So spare ones were collected around the place and the rail chairs trimmed off with a sharp Xacto knife.


Here are some before and after shots. And yes, I over-cut on one chair - but it doesn't matter, as by the time the paint and ballast goes on you won't notice it - it is only cosmetic.


I use a 50/50 mix of water and white glue to hold down these sleepers. Applied with the nifty Xuron applicator for accurate positioning and application of the liquid. You slip the sleepers into place then apply a few big drops of liquid and it soaks in all round and when dry you wouldn't know it was there - visibly that is.


After lunch the boys were running trains and Bruce Harper gave the wye a go and gave it two thumbs up! So I was happy with the results of my days' work on the HO layout.

The other fellas were of course busy too. B1 changed the battery in the N scale exhibition layout NCE Powerhouse system and she now runs like a beaut. The JMRI on the Raspberry Pi was tested and failed. Failed I say...failed!

We could get a DHCP delivered IP address and could see the advertised Wi Server and could even connect to it, yet could not drive a loco from any wireless phone. Sad indeed. Reboots failed, resets failed, NCE reset and reboots failed. Then we clicked to it - the reset of the NCE after the battery was installed, sets it back to a serial connection speed of 9600 baud.  We bet ourselves that the JMRI was setup for something else - we'd need a PC to be able to play around. But, as I put it, why not fiddle at the NCE level since we could do that today - so we did. We went in and set it to 19200 baud and yeeee harrrrrrrr, it all started to work at the JMRI level. So no PC required and it all made sense again.

Besides that, we did some cleaning of the layout with brushes to loosen the accumulated dust and the small vacuum cleaner to suck the dislodged dirt away.

Dallas was also doing some last minute bits to the T-TRAK. I expect the T-TRAK , N Scale and HO Scale layouts will all get packed up on Saturday, being the last weekend before we head away for the Bundaberg show - not many more sleeps to go.

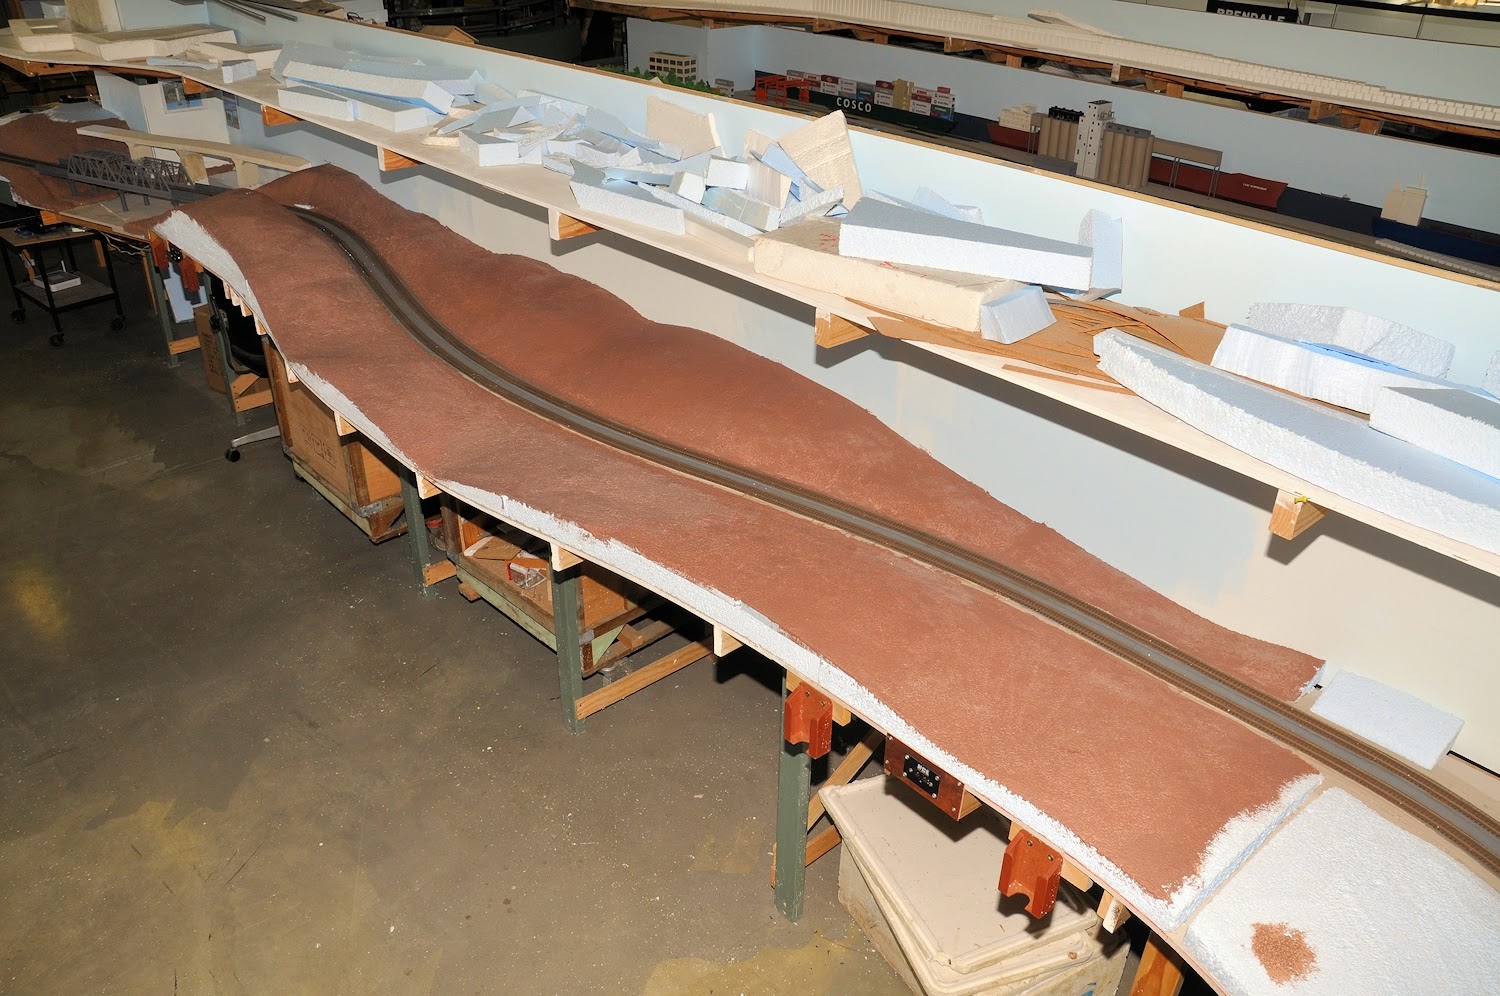
Bruce Hagaman and Dave and Phil were at the helix today and getting a new skyboard in place.


Last but not least, Darryl D was there for the morning and tack glued in some buildings so we could see what the layout of the wharf is heading for - nice.


Sunday, March 8, 2015

Chocolate Topping

Saturday saw the N scalers testing their trains on the exhibition layout so that the layout can be packed up on next Saturday in preparation for its trip up to the Bundaberg show. All was well with the layout with a full vacuum being done and track clean and all went well.  Only one problem was found actually, and that was with the NCE DCC system. This is where the cabs all go funny and you end up with one cab driving multiple locos around - weird stuff. The HO'er get it from time to time to on their layouts.

But B1 saw a few articles on the Yahoo DCC forums about this. Turns out when we had the units apart doing our chip upgrades a while back, it would have been opportune to change the battery in them. Sorta makes sense as they are getting on a bit and the batteries don't last for ever. They are of the type CR2032. So B1 will arrange for a few from Jaycar or similar and we'll replace them. Maybe that will help.

Anyway, besides that, the T-Trakers were at it doing touch-ups and final adjustments on their layout for the Bundy show as well. And of course the HO'ers were trying to fix things on their exhibition layout as well in prep for the show in two weeks time.

Me, I did a bit more on the new HO layout. I was able to cut, trim and glue down the track between the two new points. It should be ready for some power droppers on Wednesday then.


After laying down the track, I made up about 5 tubes of gap filler and some cheap acrylic kiddies paint with a touch of water until I had a consistency of almost running Mr Whippy ice-cream. I then painted a good licking of it over the rolling hills of foam.


 Close up it looks like chocolate on ice-cream. But stand back a bit and it looks pretty smooth. Wait until the dirt and grass flock goes on and it will be a real grassy rolling hill.


I also filled the last of the gaps in the foam with the same mix as above with a handful of vermiculite mixed in. This smoothed down really nicely with my artists small spatulas.


At the end of this work while the guys started running trains,  I grabbed some left over trees and planted them around for effect. They are obviously not permanent, but will do until the dirt and grass etc get laid down. So easy to do - grab a pig stabber (awl), make a quick poke in the foam and insert a tree. Not that I would make them permanent now, but when it is time you can add a small dob of white glue in the hole or not. The foam grabs the tree trunk quite well.


Here are some shots that give a rough indication of the potential of the view as trains roll over the river and into the rolling hills.