Wednesday, July 29, 2015

Today was a bit of this and a bit of that type of day. (Reminds me of Mambo No 5)

On the way to the club I stopped by Bunnings and picked up a large burr for the Dremel tool so I could make some drains later in the day - you'll see.

I started with a little dirt and grass application along some of the branch/industrial tracks on the middle peninsula.


Next I decided to do a tiny bit of cutting and shaping of some foam at the top of the helix - just to see what it might come out like. I think once a smear of no more gaps material and dirt and we'll be on our way to a nice rock wall.


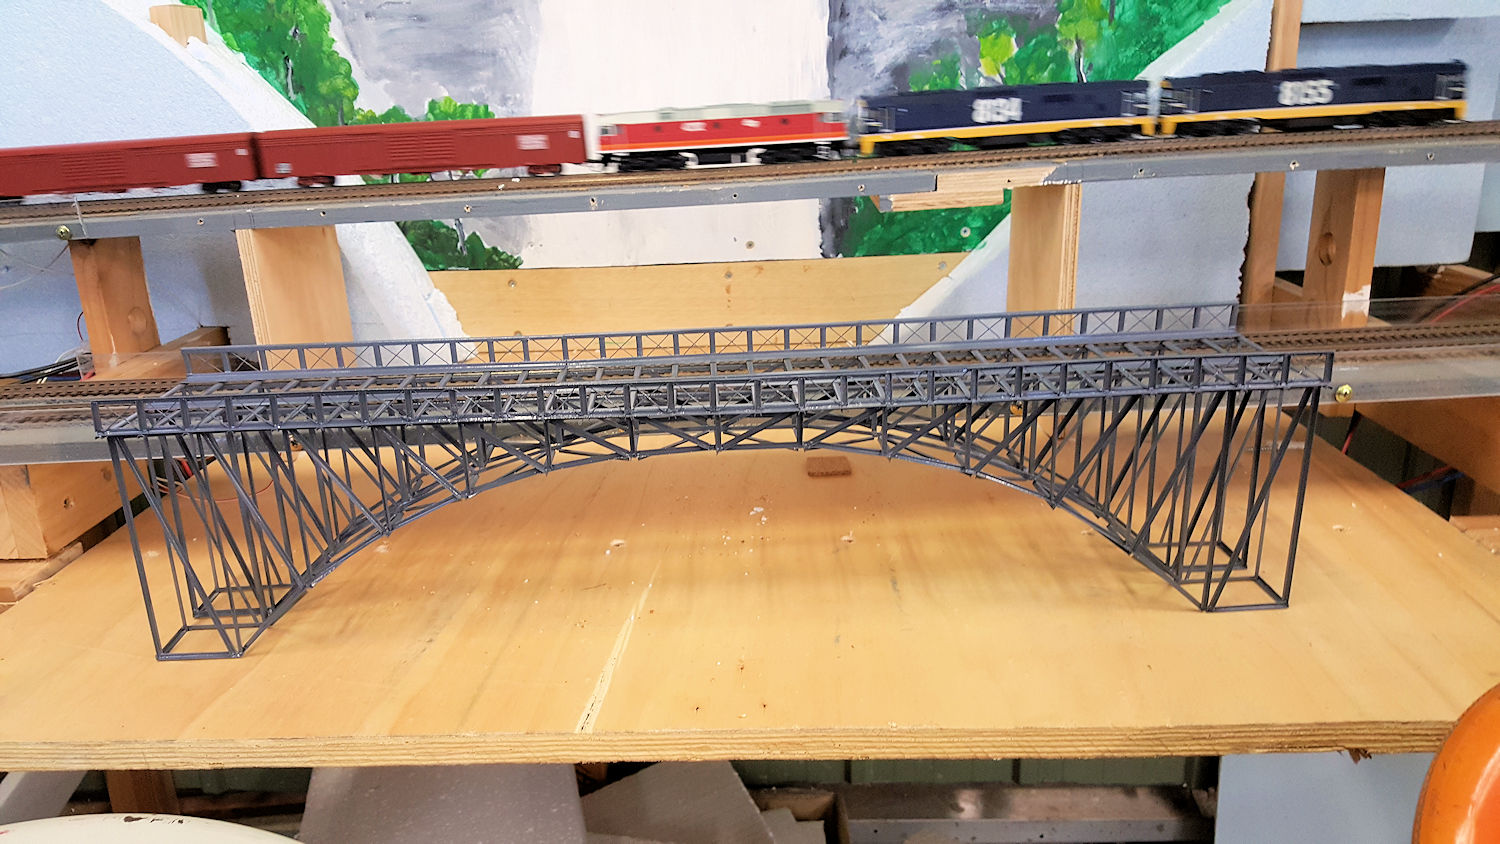
While I was at it, Doug was doing some work in the canyon/gorge where the bridges are going. He was adding in some support for the ends of the middle bridge. While he was at it, he gave the jolly green bridge a lick of engineering type grey - it now just needs a coat of a dulling compound and she's right to go.


I then did just a little, about 30 cm, of drainage ditch along one track at the base of the helix. Peter A is working on making that area a very highly detailed scene - will be very nice. So to that end a bit more three dimensionality is required. So a bit of cutting into the deck with that new burr I bought and the Dremel to give a drain along the tracks will work nice for part of the scene. The drain I did today can be seen at the bottom of the photo in front of the outer track.


The last bit of scenery I did today was to grab a shovel and bucket and head out back of the club shed and down to the creek. I needed more "dirt" as I am out of it. So I got a half bucket of clay/silt from the dry banks of the creek. This I spread out in the shed to dry so it can be pulverized and sieved on Saturday.


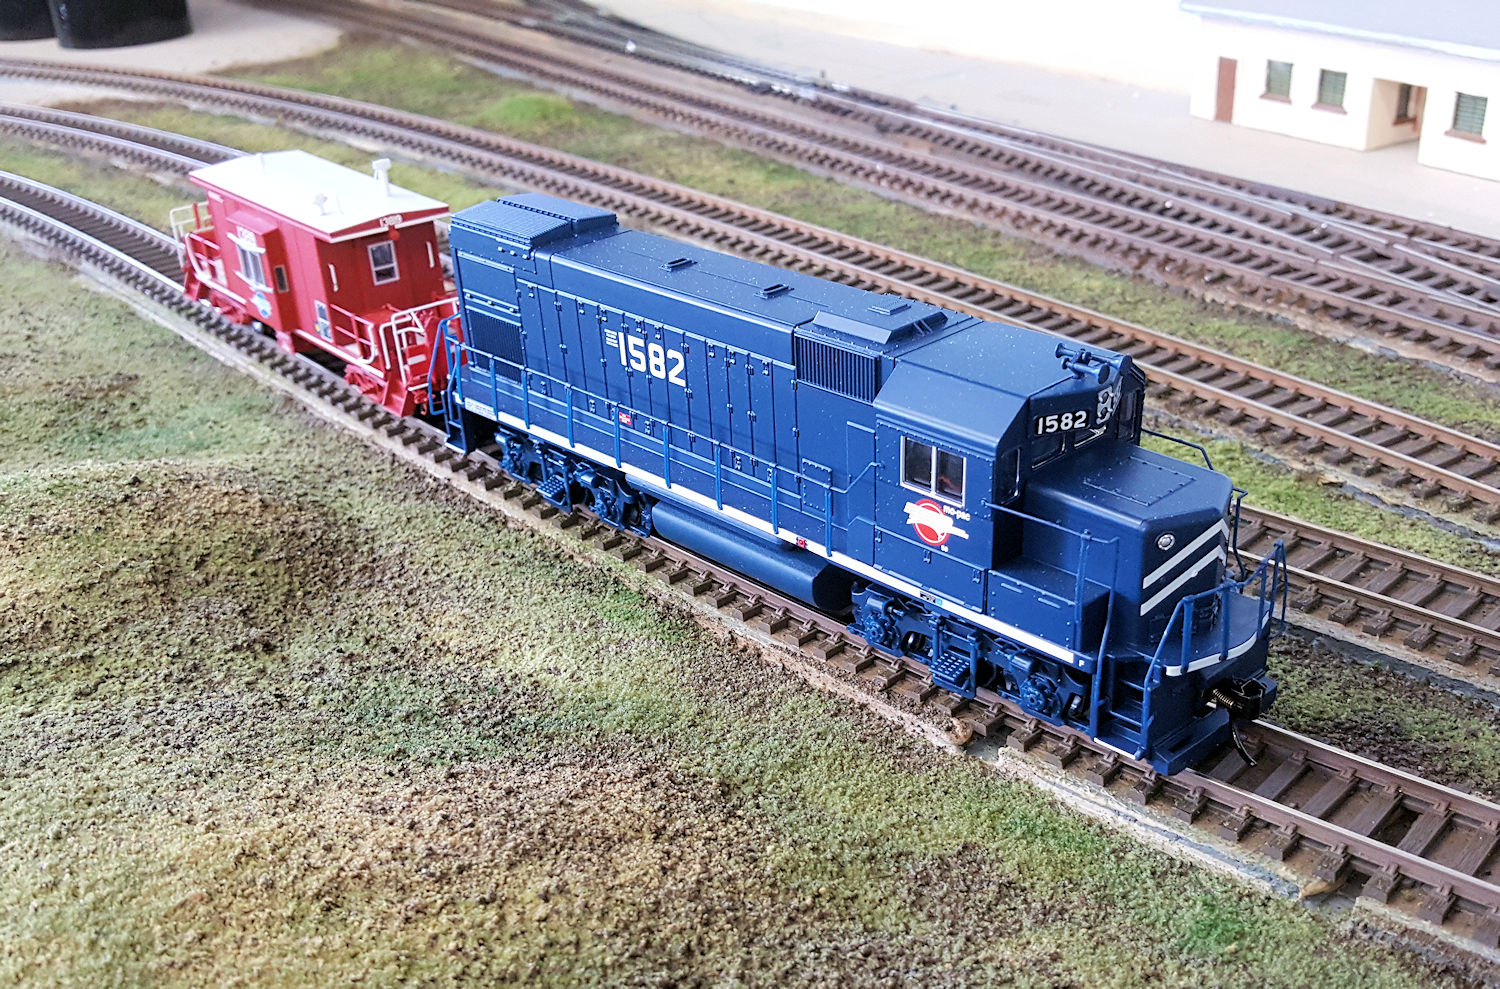
So then it was a bite of lunch with all the fellas. I reckon we need a longer table as there are so many we now have to split into two groups! After feeding the worms, we all went and played some trains on the layout. Well, I played with my HO scale Auscision NSW 45 class loco which I found again at home and saw that I hadn't even gotten around to putting a decoder in it yet! 5 months I've had it - so now it does have a decoder. I installed a LokPilot V4 21 pin decoder. One day I'll get a sound decoder for it, but this will do for a while I reckon.


I do have to admit, Auscision made some good design choices with the 45. The packaging is great and sturdy and protects the loco well. The internal design has plenty of space for the decoder to sit and it is an easy plug-in install - no soldering - love it.


And as a surprise, when I got home there was a parcel card, so off to the PO before I got too settled at home. Collected a long thin parcel. Yep, it was some more LEDs. It has been some time since my last look at what is available out there in the LED strips for use on a layout. So I've ordered the latest two types being used so I can test and compare against those already tested by myself. Once tested I'll release my report to all. So today's arrival wasn't a 5 m strip, but 10 x 50 cm hard strips which I have plans for. There are 36 LEDs on each 50 cm strip and the LEDs are the 8520 type. The two 5 m strips I am waiting to test are of the 8520 LEDs and the 7020 LEDs. So stay tuned in the coming weeks for an illuminating article...  Geez I'm a funny bugger :o)


Sunday, July 26, 2015

Green Green Grass of Home

Saturday dawned, or hadn't by much, when I got out of bed and collected my stuff and headed off to the club. I wanted to get a good early start to get as much scenicing done before the train drivers started pushing for access to the tracks.

First order of the day was of course coffee, then dirt. I needed to cover all those putty piles I made on Wednesday. So it was out with the container of dusty dirt and a pile of 50/50 white glue (50% Aquadhere and 50% water plus a few drops of washing up detergent). I used a 25 mm brush to slap on a coat of this 50/50 and then sprinkled on a liberal amount of dirt until the glue didn't wick up any longer - nothing like a good base to work with.


Next I got out the Woodland Scenics Fine Turfs (ground foams). I used splotches of the Yellow Grass as a base. This I put on heavy here and there, mainly on top of the mounds. Then came the JTT Fine Turf coloured as Burnt Grass. This is slightly more bright green than the Woodland Scenics Burnt Grass. So the JTT went on a little over the yellow and then around the gaps, but not super heavy. After the JTT I got the Woodland Scenics Burnt Grass out and covered the gaps but making sure the dirt showed just a tad every now and then. Next just a tiny amount here and there, but particularly near or in ditches and gullies, I used the Woodland Scenics Green Grass and then the Woodland Scenics Weeds fine turfs. I think this combination works relatively well - but there are a million combinations you can do, I just happen to like this one.


So I was able to finish the "turfing" by about 11:30 am after about 4 hours of work, and talking, and drinking coffee, and talking.


Next order of the day was to get some trains out and run trains!

I had just taken receipt of a few new items of HO rolling stock and N scale of course. So the HO loco, a nice new EMD GP15 in Missouri Pacific colours, got a programming on the DCC test track, as did the 3 N scale Atlas EMD GP40's in Canadian Nations red/black striped livery.


But today was HO play day, so the new Walthers loco went on the track followed with a half dozen tankers, the new Walthers MKT liveried Type 21 ACF 10,000 Gallon Tank Car being the prime car for today. The Walthers loco is from their Mainline series and also can be gotten with a Tsunami sound decoder. So I got the sound version. Now do remember, this is not a fully functional Tsunami sound decoder you might be familiar with, it has cut back features. There is a bell, engine sounds (revs up and down of course) short and long horn toots and three light functions. It does all I want, so I am happy. pulling power was sufficient and response pretty good. So I whacked in a great heap of momentum, and shunted away.


I then also dug out the Broadway Limited little SW1500 in MKT colours I got some time back and played hauling a short rake of coal wagons around the place.


So all up a great day was had.

Oh and Peter A is now back from his OS trip as well and he was busy with the river scene with all the bridges.


Wednesday, July 22, 2015

I'm Baaaack.

Long time no blog. Well, I have a good excuse, I was overseas having a great time in Wales, Scotland and Norway! And you guessed it, no progress on my train shed - it still in the same state as before - ie it is standing, has no insulation and no lining added yet - even though it is all sitting on the floor ready. But I did do something - I added a second clothes line in it!

Anyway, back to my local train club. The HO'ers have been slowly progressing ideas for the top deck peninsulas that will host both 12 mm and 16.5 mm track for the HO. To this end, Darryl D was showing off some of his 12 mm gauge QR locos and wagons back on the 4th of July. He just grabbed some 12 mm track and hooked a few wires to it so he could go back and forth. Looking at this HOn3½ stuff, it does look nice, I'll give it that.... Tempting....


I didn't do any work on the layout on the day as it was my first day back. So instead I brought down some of my NSW HO trains and had a nice run. I reckon the wharf area is going to look really good when complete. Here is a shot of my 47 and 49 sitting near what will be the coal loading/unloading area.


Wednesday the 8th saw me knee deep in muck again and smearing some of my home made putty around the place making a few mounds to take the flat earth factor away. I also added in some more foam at the front of the trackage so that the boys can start figuring out some facias for that middle peninsula. John B was busy adding a bit more width to the top deck of the end peninsula to give the 12/16/5 mm track a bit more space to coexist.


We then had the Gold Coast show to attend - great fun was had by all.

The 20th saw me down at the club again, this time adding the green green grass of home all over the foam and putty I have laid down previously. The peninsula is starting to take shape.


There - up to date! Now for today.

My first job was to make more dirt. I ran out of my ready to use dirt, so got out the bucket of dried creek mud/silt and pulverised it well and good to make it nice and fine.  Then I sieved it into the grade of dust and fines I required - ie nice and fine. I used this today to coat some of the foam I hadn't yet covered. This acts as a base for the next layer which will be the grass coloured fine ground foam.


More putty was also made up so as to add shape to our flat earth of the plywood deck on the middle peninsula. I used my usual recipe which this time was tweaked as being a tube of acrylic Gap Filler (under 2 bucks from Bunnings), some kids acrylic poster paint, some Aquadhere to moisten it a bit, a tiny bit of water to thin it a bit, three cups or more of Vermiculite. It ends up like really thick oatmeal porridge.


I then got my small spatulas and smeared the putty into place and shaped it into small mounds to emulate rock and dirt piles between the mainline and the sidings. I also added what looks like ant mounds to the existing grassed area to give it a bit more undulations. These mounds will all get grassed next week.


I also added in some bits of plywood to the back of the track area which had been missing for yonks.


B1 strengthed the N Scale exhibition layout main module legs by adding in another brace. Simple it was, just used some of the spare existing braces and screwed on some door stoppers in the right place and voila, we have a sturdier module.


Stewart has been working on an engine shed that has appeared at the right hand end of the yard. Not sure what we'll do with the end of the peninsula now though. Engine shed will look good, but it now blocks track access to the end - maybe a big mountain - I like them for a scene :o)


And John B has finished widening the top deck. You can make it out in these 2 shots.